
Table of contents
Appifio Creator · Lesson G03 · Intermediate
Contacts · Products · Orders
run a shop site in Aura CMS
run a shop site in Aura CMS
Three pieces in one panel: customers leave contacts, you manage products, and you track orders - without opening Creator for every update.
Learning goals: Handle one contact, add one product with variations, and update one order status.
Reading time: about 16 minutes
Prerequisites: A contact form writing to Storage (F02) and CMS access (G01).
Previous → next: F02, G01 → G03 → H01
1. Basic shop flow
0. You open the panel
→ /your-link-name/cms → sign in → left nav
1. Customer browses the site
→ sees Products (published from CMS) → sends a Contact or places an Order
2. You handle Contacts
→ nav "Contacts" → read, delete when done (no separate “read” status)
3. You manage Products
→ nav "Products" → Categories/Tags → add product + variations (Size/Color) + stock
4. You process Orders
→ nav "Orders" → open detail → change Pending → Confirmed (or Cancelled)
2. Glossary
| Term | Meaning | Where in the UI |
|---|---|---|
/your-link-name/cms | URL for the Aura CMS panel - use your app slug | Browser |
| Nav "Contacts" | Messages from the site contact form | CMS left nav |
| Variations & stock | Modes: No variations / Hierarchical / Independent (Size + Color) | Product form → "Variations & stock" |
| Virtual product | Delivered as download/link - unlike Physical (shipping) | Product type field |
| Order status | Pending / Confirmed / Cancelled | Order detail → Status dropdown |
| SKU | Optional product code for internal stock | Product form |
| Gallery | Product image set - upload multiple at once | "Upload images" |
3. Open CMS and the right sections
- Open your app URL with
/cms- e.g.https://yourapp.appifio.com/cms. - Sign in with a CMS account (superadmin or admin - G01, F03).
- Left nav: "Contacts", "Products", "Orders". Click each - the main pane updates.
- If the nav is collapsed, expand it before hunting for items.
4. Handle Contacts
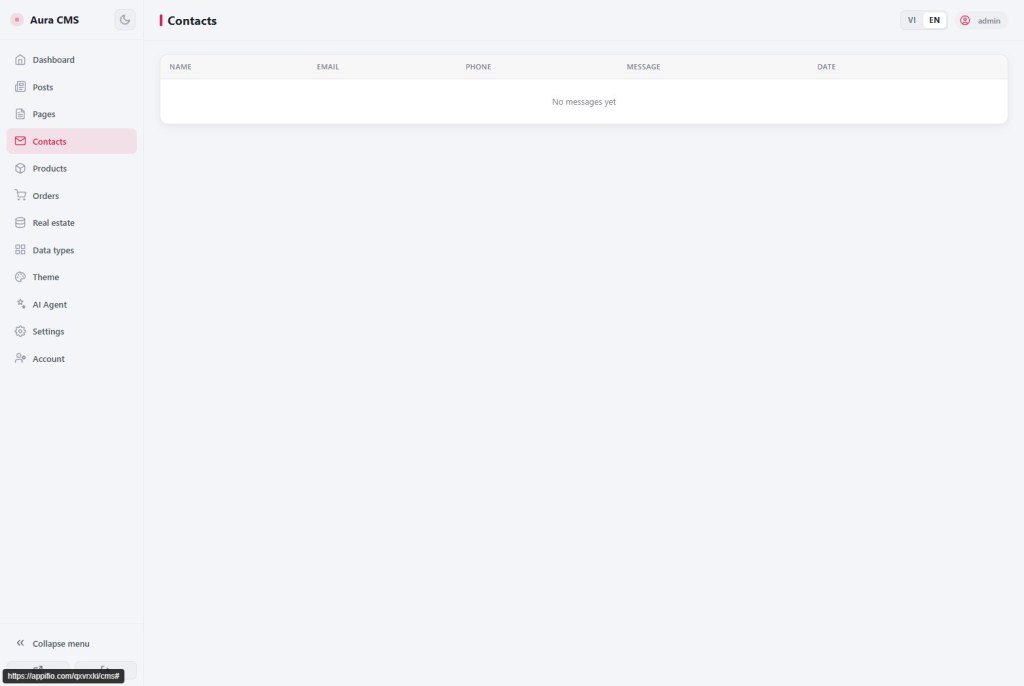
- Click "Contacts". The list shows messages from the site form (F02) - usually name, email, time.
- Click "View more" → "Contact detail" opens with the full message.
- After reading, note elsewhere if needed - CMS has no “mark as read”.
- When done, click "Delete message" - confirm because "Cannot be undone".
- Empty list despite form submits: check
appendDatato the contacts entity (F02) and Save changes in Creator.
5. Prepare Categories & Tags (optional)
- Open "Products" - tabs: "Products", "Categories", "Tags".
- Tab "Categories": "Add category" → name (e.g. "T-shirts") → save.
- Tab "Tags": same idea - labels like "Sale", "New" if your theme shows them.
- Return to "Products" before adding items.
6. Add a product with variations
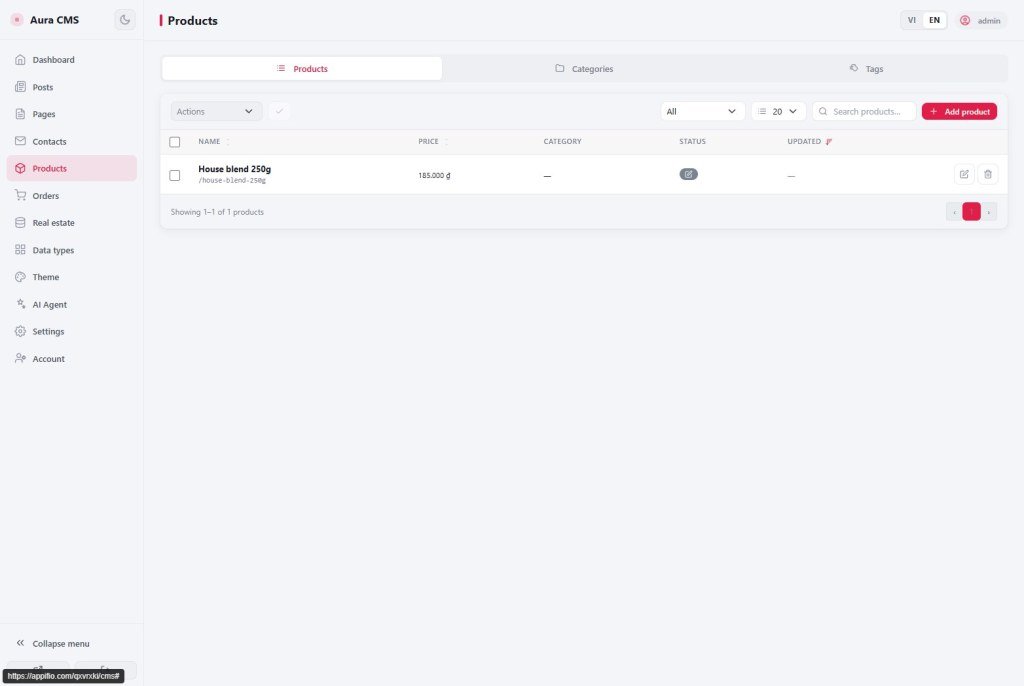
- Tab "Products" → "Add product".
- Fill Product name, Description, URL slug, Price unit (₫, USD…), optional SKU.
- Choose Product type: Physical or Virtual - for virtual, add download URL and button label.
- Under "Variations & stock", pick mode:
- No variations - one price, one stock (simple shops).
- Hierarchical - parent→child groups (e.g. Size S/M/L under "Size").
- Independent - Size and Color separate; each combo has its own stock and price delta.
- Add each Group (e.g. "Size") then Options (S, M, L) with stock and price deltas as needed.
- Upload to Gallery via "Upload images" - first image is usually the featured image.
- Assign Categories and Tags from step 5.
- Set publish status if shown - only Published appears publicly.
- Click "Save" / "Save product" → see it in the list.
7. Track Orders
- Click "Orders" - columns usually include Order ID, Customer, Total, Status.
- Use "Search orders…" with the Order ID when the list is long.
- Click a row → "Order detail" - name, phone, items, quantities, total, chosen Size/Color.
- Change Status:
- Pending - new, not contacted yet.
- Confirmed - paid or delivery confirmed.
- Cancelled - customer cancelled or out of stock.
- Click "Save changes".
- Use "Delete order" only when sure - insufficient role shows "You don’t have permission to delete orders" (need admin/superadmin).
8. Compared with other tools
- Shopify: stronger online payments/shipping; Aura CMS fits small/medium shops with manual COD/chat.
- WooCommerce: similar Products + Orders + Variations, but needs WordPress + plugins; Aura CMS is built-in.
- Google Form + Sheet: Aura CMS replaces that with a dedicated ops UI.
9. Security
- Contacts and order details hold personal data - grant CMS access only to people who need it (F03, G05).
- Editor may add products but may not edit/delete orders - check roles before assigning work.
- With Security enforce (G05), confirm contacts/orders still allow guest submits - don’t lock a live form by accident.
10. Technical limits
You can
- Multi-variant products (Size/Color)
- Basic order status tracking
- View & delete contact messages
- Categories/Tags on products
Not built-in
- No ready payment gateway (use Backend Function - F04)
- No auto shipping/tax calc
- No auto email when order status changes
- Contacts have no read/unread labels
11. Common issues
| Situation | Fix |
|---|---|
| “Couldn’t save order” | Check role - user may view only; need admin/superadmin to change status |
| Product saved but missing on the web | Check Shop route in Settings (G05), publish status, and Creator Save changes |
| Stock not decreasing after a sale | Confirm the Size/Color the customer chose matches your variation setup |
| Form works but CMS is empty | See F02 - entity and API key; refresh CMS after a few seconds |
| Customer sees “Try again later” | Temporary rate limit - wait 1-2 minutes (F02) |
12. Tips
- New small shops: start with No variations - move to Independent only when you truly need Size + Color.
- Clear Contacts the same day - no read/unread labels means backlog is easy to miss.
- Update order status as soon as you confirm with the customer.
- Create 2-3 categories before bulk-importing products.
13. Self-check
- Can you open
/your-link-name/cmsand see Contacts / Products / Orders? - Can you read and delete one contact (with “Cannot be undone”)?
- Can you add a product with Size/Color and a Gallery?
- Can you change an order status and Save changes?
- Do you know the limits (no built-in payments/auto email)?
Next lesson
G04 - Dynamic types & Theme
When Posts/Products aren’t enough, define custom content types and apply a site-wide theme.
Internal navigation (same language)
Appifio Creator · User guide · G03
