
- 1. How to open Short link settings
- 2. Map of the 6 settings sections
- 3. Basic URL - Destination & Shortened URL
- 3.1. Destination URL (Long URL)
- 3.2. Shortened URL (alias)
- 4. Tracking - Pixels, statistics, QR
- 4.1. View statistics
- 4.2. Attach Pixels
- 4.3. Create a QR code
- 5. Expiration & limits - time-boxed links
- 5.1. Enable Schedule
- 5.2. Clicks limit
- 5.3. Expiration URL
- 6. Protection - password & sensitive content
- 6.1. Password protection
- 6.2. Sensitive content warning
- 7. Targeting - one Short link, many destinations
- 8. Advanced - Project & Splash page
- 8.1. Project
- 8.2. Splash page
- 9. Quick checklist by goal
- 10. Common issues
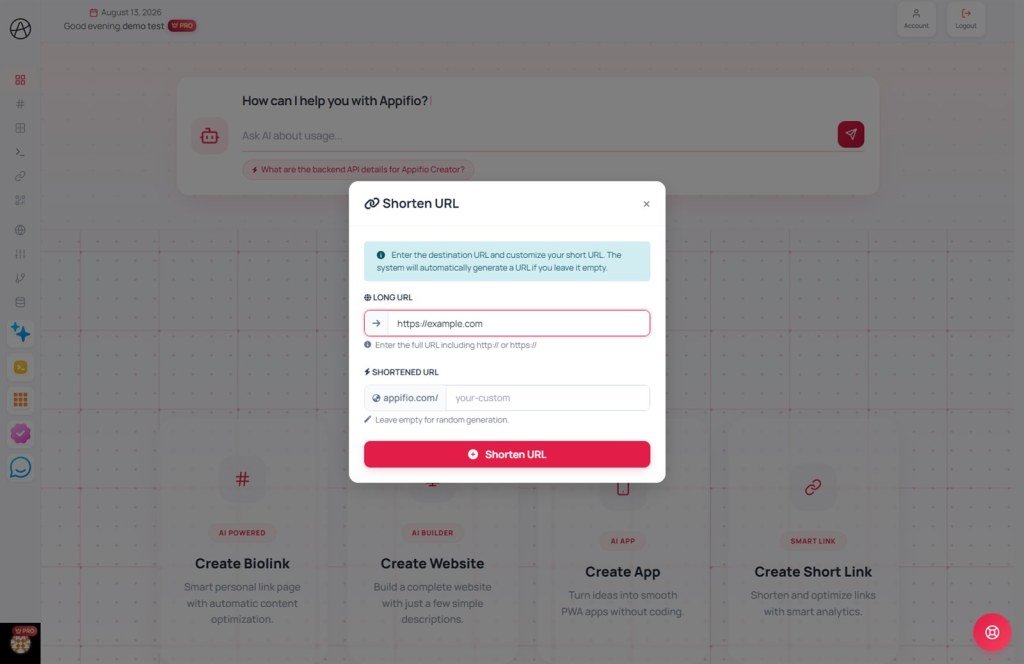
Short link
After creating a Short link, configure Destination URL, tracking, expiration, password, targeting, and more - step by step for non-technical users.
1. How to open Short link settings
This page is for editing an existing Short link (not creating a new one). See the create guide if you do not have a link yet.
- Sign in and open Links → Short link.
- Select the Short link → open its detail / Settings page.
- You will see a heading like “Manage your link” and quick-action buttons at the top.
2. Map of the 6 settings sections
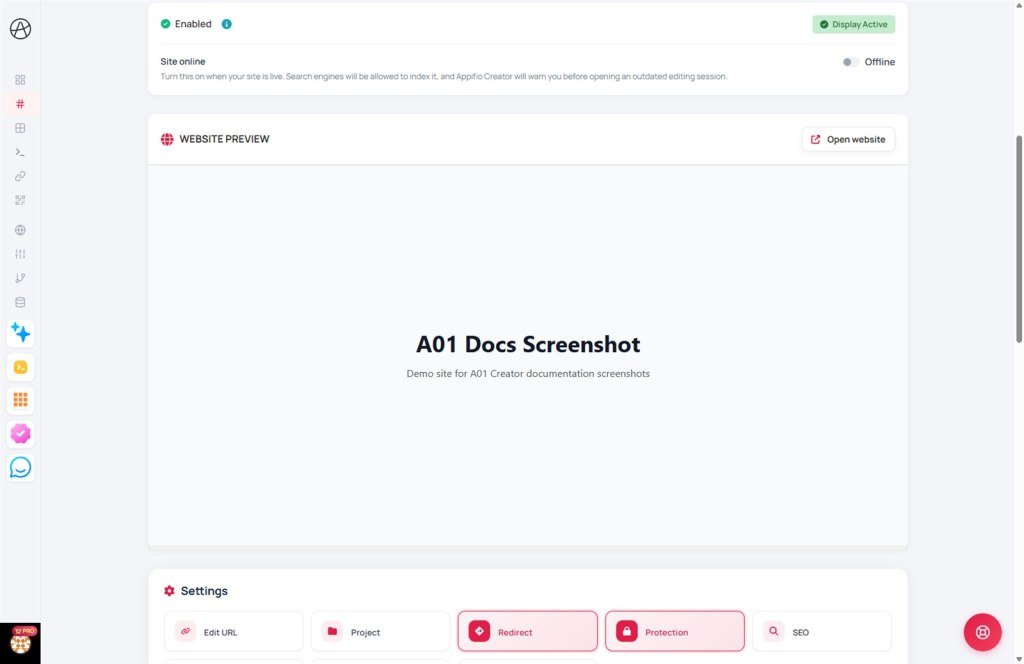
The form is split into sections (use the tabs at the top to jump):
- Basic URL - Destination URL and Shortened URL.
- Tracking - Pixels / statistics / QR.
- Expiration - Schedule dates and clicks limit.
- Protection - Password and sensitive content warning.
- Target - Send users to different URLs by country, device, and more.
- Advanced - Project and Splash page.
3. Basic URL - Destination & Shortened URL
3.1. Destination URL (Long URL)
This is the page visitors reach when they click your Short link.
- Enter a full URL starting with
https://orhttp://. - You can change the destination anytime without changing the published Short link (keep the same Shortened URL).
- Destinations are still moderated (blacklist, risk warnings…). Prefer pages you control; avoid nested shorteners.
3.2. Shortened URL (alias)
The path after the domain, e.g. appifio.com/promo.
- If your plan allows custom URLs, edit the alias to make it memorable.
- Leave empty for random generation when you do not need a custom name.
- You can select a custom domain (if connected) instead of the default Appifio domain.
The Full URL area below lets you copy or open the link for a quick test.
4. Tracking - Pixels, statistics, QR
Use this section to see who clicked and measure ad performance.
4.1. View statistics
Click View detailed statistics for clicks, countries, devices, referrers, and more over time.
4.2. Attach Pixels
Pixels are tracking tags (Facebook, Google, TikTok…) you created under Pixels.
- Create a Pixel first (if needed).
- Return to Short link settings → Tracking.
- Check the Pixels to attach.
- Click Update.
4.3. Create a QR code
Click Create a QR code for this link to print or place on posters/menus. Scanning opens your Short link.
5. Expiration & limits - time-boxed links
Use when the Short link should work only for a period or a limited number of clicks (e.g. a 3-day promo, max 100 tickets).
5.1. Enable Schedule
- Turn on Schedule.
- Set Start date - before this, the link is not active (or does not go to the main destination).
- Set End date - after this, the link expires.
5.2. Clicks limit
Enter the maximum allowed clicks. Leave empty = Unlimited. When the limit is reached, the link expires.
5.3. Expiration URL
After the Short link expires (by date or clicks), visitors can be sent to another page you choose - e.g. “Offer ended” or your store homepage.
6. Protection - password & sensitive content
6.1. Password protection
When set, visitors must enter the correct password to continue. The browser may remember it for about 30 days so they do not re-enter every time.
Best for: internal documents, buyer-only / member-only links.
6.2. Sensitive content warning
Enable if the destination needs an explicit confirmation first (e.g. strong warnings, age-gated content). Visitors see a confirmation screen before continuing.
7. Targeting - one Short link, many destinations
By default everyone goes to the same Destination URL. Target (Smart targeting) can send different groups to different URLs.
General steps:
- Select a targeting type (or None if unused).
- Click Create to add each rule row.
- Each row = condition (country / device…) + matching destination URL.
- Click Update. Remove a row with the X button.
Country targeting
Example: Vietnam → Vietnamese page; United States → English page.
Device type
Desktop / tablet / mobile → different URLs (app store on mobile, full site on desktop…).
Browser language
Vietnamese browser → VI page; English browser → EN page.
Rotation & A/B Testing
Split traffic by percentage (e.g. 50% page A, 50% page B) to compare performance.
Operating system
iOS → App Store; Android → Google Play; Windows / Mac → matching download page.
8. Advanced - Project & Splash page
8.1. Project
Assign the Short link to a Project to filter by campaign (e.g. “July Sale”, “Q3 Event”). Optional - choose None if unused.
8.2. Splash page
A Splash page appears before the destination - countdown, message, branding, or a short promo.
- Create a splash page first under Splash pages (if your plan allows).
- Return to Short link settings → select it in the list.
- Update. Visitors see the splash first, then the destination.
9. Quick checklist by goal
Only change destination / alias
Open Basic URL → edit → Update.
Run ads / measure conversions
Create Pixel → attach under Tracking → review statistics regularly.
Time-limited promo
Expiration: enable Schedule + End date (+ optional Clicks limit + Expiration URL).
Internal / VIP only
Protection: set password → share the password separately.
One link, multiple page versions (EN/VI or iOS/Android)
Target: pick a type → add rules → test from matching devices / locations if needed.
10. Common issues
Edited but nothing changed
You did not click Update, or the browser shows a cached page. Save again and open the Short link in a private window.
Fields greyed out
Feature not included in your plan. Check the plan page or upgrade.
Cannot attach a Pixel
No Pixels created yet. Create one under Pixels, then return and check it.
Destination rejected / warned
Destination failed moderation. Use a direct, stable page - see the create Short link guide (security section).
Targeting not behaving as expected
Confirm the targeting type, each rule URL, and the default Destination URL under Basic URL. Test from the matching device / country.
© 2026 Appifio Creator - Short link settings guide
