
- 1. How the teams system works
- Detailed login workflow for members:
- Security and privacy (Notes for Owners)
- 2. Detailed permission system
- 1. View permission
- 2. Create permission
- 3. Update permission
- 4. Delete permission
- Separately managed resource types:
- 3. Setup and management workflow
- Step 1: Create a new team
- Step 2: Invite members
- Step 3: Configure granular permissions
- Step 4: Monitoring and management
- 4. Understanding system roles
- Owner
- Administrator
- Editor
- Viewer
- 5. Advantages and considerations
- Key benefits
- Important limitations
- 6. Frequently asked questions (FAQ)
- 7. Important security notes & Resource deletion logic
- System behavior during removal operations
Professional Collaboration
Estimated reading time: 15 minutes | 120 views
The Teams system allows you to collaborate with contributors, employees, or clients on the same resources without ever sharing your personal password.
1. How the teams system works
The system is built on a Delegation model. Instead of logging directly into your account, members log into their own accounts and then "switch" to the permissions you have granted them.
Detailed login workflow for members:
To start working on behalf of the team owner, members should follow these steps:
- Step 1: Log in to Appifio using your personal account.
- Step 2: Click your profile picture (Avatar) in the top right corner or find it in the Sidebar, then select Teams member.
- Step 3: In the list of joined teams, find the team you want to work on and click the Login button (the icon with an arrow or the text "Login" in the Action column).
- Step 4: Once clicked, the system will automatically redirect you to the Dashboard. You will notice a yellow notification bar at the top of the screen, confirming that you are currently working on behalf of the Team Owner.
Security and privacy (Notes for Owners)
Owners often worry about exposing personal information when allowing others to "Log in" to their account. Appifio has designed the system to ensure absolute safety:
- No password exposure: Members never see or know your password. They use their own credentials.
- Isolated account settings: Members CANNOT access your Account Settings (change password, change email), Billing information, or Subscription plans.
- Resource limits: Members only see the resources (Biolinks, Websites, etc.) that you explicitly grant access to. They cannot see your other private resources.
- Two-way data isolation: You cannot see the personal data of your members, and members cannot interfere with other teams you manage.
2. Detailed permission system
Our permission system is designed with four main levels of authority, allowing granular control over every resource type:
1. View permission
Scope: Allows members to only view all resources within the system.
Use case: Ideal for consultants, observers, or anyone who needs to monitor progress without making edits.
Restriction: Cannot make any changes to the data.
2. Create permission
Scope: Allows members to create new resources such as links, pixels, projects, Biolinks, QR codes, and custom domains.
Use case: Best for content creators, developers, and designers.
Restriction: May not have the authority to edit or delete resources created by others.
3. Update permission
Scope: Allows members to edit and update existing resources (links, pixels, Biolinks, QR codes, etc.).
Use case: Suitable for content managers, editors, and project supervisors.
4. Delete permission
Scope: Allows members to delete resources (links, pixels, projects, data, Biolinks, QR codes, and custom domains).
Use case: Usually reserved for administrators and senior managers.
Warning: This permission should be granted cautiously as deletion is often permanent and irreversible.
Separately managed resource types:
- Links: URLs created and managed within the system.
- Pixels: Tracking and analytics codes.
- Projects: Separate work groups or campaigns.
- Biolink blocks: Custom profile pages containing multiple links.
- QR codes: QR codes generated and managed in the system.
- Custom domains: Domains connected to the account.
- Data: (Only applies to Deletion) Customer information and leads collected.
3. Setup and management workflow
Step 1: Create a new team
- Go to the Teams section from your dashboard.
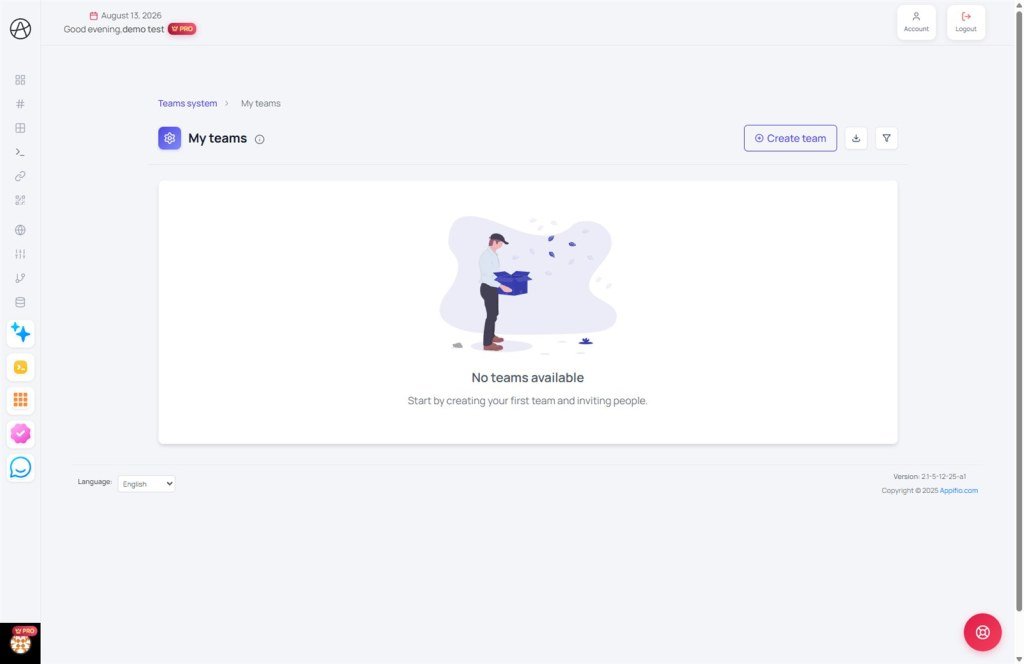
- Select Create team.
- Give your team a name that reflects its purpose (e.g., "Marketing Project A").
- Each team acts as a separate workspace with its own configurations and permissions.
Step 2: Invite members
- Add colleagues by entering their exact email address.
- The system automatically sends an invitation with a join link.
- Invited users will see the team in their Teams member section after joining.
Step 3: Configure granular permissions
- Assign permissions to each member based on their roles and responsibilities.
- You can grant different permissions for different resource types.
- Example: A member might have Create and Update permissions for Links, but only View permissions for QR Codes.
- Permissions can be adjusted at any time as project needs change.
Step 4: Monitoring and management
- Track the activities of team members.
- Adjust permissions or remove members as needed.
- Manage access requests and any issues that arise.
4. Understanding system roles
Owner
- Creates and manages the entire team.
- Has full authority over all resources.
- Responsible for assigning permissions to other members.
- Can delete or restructure the team.
- Manages billing and subscription plans.
Administrator
- Delegated by the owner with broad authority.
- Can manage most aspects of the team.
- Can invite and manage other members.
- Usually has Create and Update permissions across most resources.
Editor
- Focuses on creating and updating content.
- Typically has Create and Update permissions for Links and Biolinks.
- Does not have the authority to delete critical resources.
Viewer
- Only has View permissions for resources.
- Monitors progress and results without direct participation.
5. Advantages and considerations
Key benefits
- Absolute security: No need to share your primary account password.
- Flexible control: Grant "just enough" access to each personnel.
- Cost efficiency: Members utilize the Owner's resource limits (Plan).
- Centralized management: All customer data and statistics remain with the Owner.
Important limitations
- View permission is mandatory: To work, members must have at least View access.
- Plan limits: The number of teams and members depends on the Owner's subscription plan.
- Email verification: Members must use the exact email address that was invited.
6. Frequently asked questions (FAQ)
How can I ensure security when inviting new members?
Start with restricted permissions (Viewer/Editor) and gradually expand them based on project needs and trust. Only grant Delete permissions to senior management.
Can I give different permissions to the same person for different projects?
Yes, you can invite a member to multiple teams with different permissions for each. For example, someone can be an Admin in one project but only a Viewer in another.
How do I transfer team ownership to someone else?
Currently, the system does not support direct ownership transfer. You can only remove members or leave the team.
Does the team system affect page loading speed?
No. Permission settings only affect the internal management interface. Public Biolink pages continue to operate with optimal performance.
How can I see who made a specific change?
Currently, actions are final and detailed change logs per user are not displayed. Please only grant permissions to trusted individuals.
Can I set a time limit for temporary member access?
The system does not have an automatic expiration feature. You will need to manually remove members from the team once their task is complete.
7. Important security notes & Resource deletion logic
System behavior during removal operations
Here is the logic the system executes when removal actions are performed:
- Removing a member from a team:
- Immediate disconnection: The moment you click remove, that member is stripped of their delegated authority. If they are currently active in a delegated session, the system will automatically log them out and redirect them to their personal dashboard upon their next interaction.
- Resource preservation: Appifio stores all resources (AI Websites, Biolinks, Pixels, etc.) based on the Team Owner's ID. Therefore, even if a member was the one who clicked "Create," technically, the resource belongs to you. When they leave, the resources remain exactly where they are in your list.
- Absolute privacy: Once removed, the member loses all rights to view or access the data they previously worked on. This logic ensures business continuity even when personnel leave.
- Deleting an entire team:
- Mass revocation: All team members will have their access revoked simultaneously. Any active delegated sessions will end immediately, and members will be returned to their personal accounts.
- Permission cleanup: The system permanently deletes the records of permissions and membership lists for that team to ensure data security on the Teams page.
- Resource status: Since Websites and Biolinks are stored under the Owner's account rather than "inside" the Team, deleting a Team simply removes the access layer. These resources will return to your primary management view in the Dashboard.
- Data notes:
- Only members with "Delete data" permission can remove collected customer information.
- Deleting customer data is permanent and cannot be recovered, so grant this permission only to high-level administrators.
© 2026 Appifio.com - Intelligent team management system
