
- 1. Why use a custom domain?
- 2. Adding your custom domain
- Step 1: Purchase a domain
- Step 2: Register the domain in Appifio
- 3. Configuring DNS settings
- Point an A record (Required)
- Point a CNAME record (Optional)
- 4. Securing your site with SSL
- 5. Setting up free SSL with Cloudflare
- Step 1: Register and add your site
- Step 2: DNS configuration on Cloudflare
- Step 3: Update Nameservers
- Step 4: Advanced SSL/TLS settings
- 6. Configuring Index and 404 URLs
- Complete configuration example
- 7. Applying domains to specific links
- For Biolink pages
- For AI Websites / App Builder
- 8. Technical limits and troubleshooting
- Plan-based quotas
- Common error messages
- 9. Support and incident resolution
- 10. Critical warnings on domain deletion
- Permanent data loss
- Broken shortlinks
Branded Web Presence
Estimated reading time: 10 minutes | 42 views
A custom domain allows you to use your own web address (e.g., yourdomain.com) instead of the system's default URL (appifio.com).
1. Why use a custom domain?
Moving beyond a system URL to a personalized domain offers several strategic advantages:
- Professional branding: Create a unique and polished impression.
- Increased trust: Customers feel more secure visiting a clear, branded domain.
- Memorable marketing: Easier to share across social media and offline materials.
- Brand consistency: Sync every customer touchpoint with your primary identity.
2. Adding your custom domain
Step 1: Purchase a domain
First, you must own a domain. You can purchase one from reputable registrars such as Namecheap, GoDaddy, or local providers.
Step 2: Register the domain in Appifio
- Log in to your Appifio account.
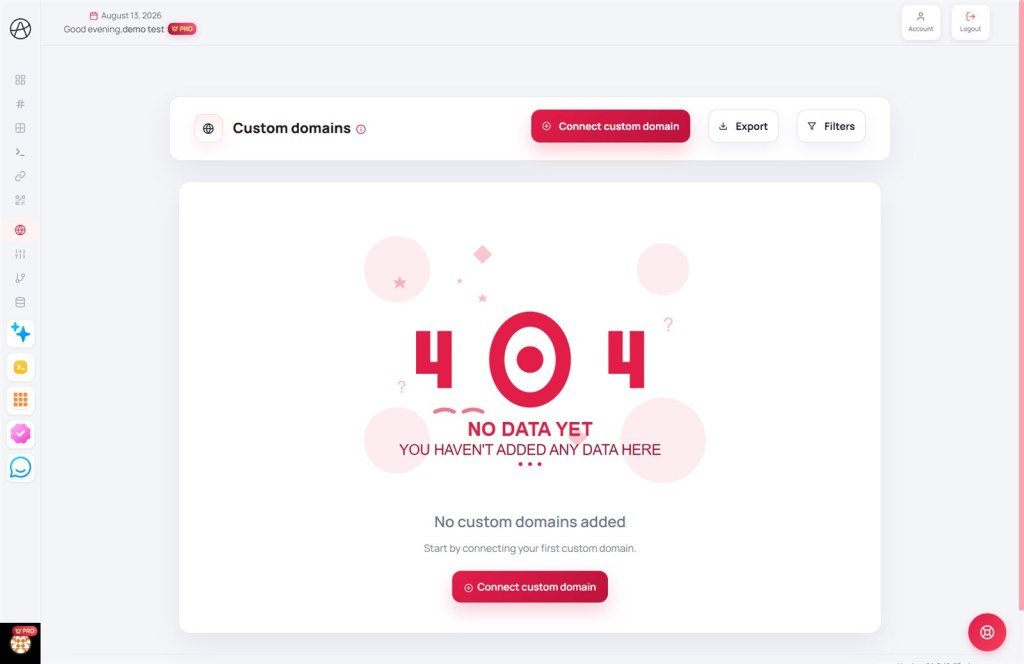
- Navigate to the Domains section on your dashboard.
- Click Add Domain or Create.
- Enter your domain (e.g.,
yourdomain.com) in the "Domain" field. - Click Create to save the entry.
3. Configuring DNS settings
After registration, you must configure your DNS settings at your domain registrar to point to the Appifio server.
Point an A record (Required)
- Log in to your registrar's DNS management panel.
- Locate the Zone or DNS management area.
- Create a new A record with Host set to
@. - Point it to the server IP:
51.79.248.39. - Save your changes.
Point a CNAME record (Optional)
If you want to use www.yourdomain.com:
- Create a new CNAME record.
- Set the Host to
www. - Point it to your root domain (e.g.,
yourdomain.com).
4. Securing your site with SSL
SSL (Secure Sockets Layer) encrypts the data between the browser and the server. Installing SSL is critical for:
- Protecting user information.
- Boosting trust and professionalism.
- Improving SEO rankings on search engines.
- Avoiding "Not Secure" browser warnings.
Common SSL issues:
- Incorrect installation of certificates.
- Expired certificates that haven't been renewed.
- Lack of support for subdomains.
- "Mixed content" errors (loading HTTP resources on an HTTPS page).
5. Setting up free SSL with Cloudflare
Cloudflare is the best solution for rapid, highly secure SSL. Follow these steps in your Cloudflare dashboard:
Step 1: Register and add your site
- Visit
cloudflare.comand create an account. - Click Add a Site, enter your domain, and select the Free plan.
Step 2: DNS configuration on Cloudflare
- Verify that your A record points correctly to
51.79.248.39. - Ensure the cloud icon (Proxy) is toggled to orange.
Step 3: Update Nameservers
- Copy the two Nameserver addresses provided by Cloudflare.
- Go to your domain registrar's panel and replace their default Nameservers with Cloudflare's.
Step 4: Advanced SSL/TLS settings
- In the Cloudflare dashboard, go to the SSL/TLS tab.
- Set the SSL mode to Full or Full (Strict).
- Under Edge Certificates, enable Always Use HTTPS.
6. Configuring Index and 404 URLs
Setting up a custom domain ensures your brand is displayed directly in the browser's address bar. Your customers will see yourdomain.com instead of appifio.com.
URL display mechanism: Suppose appifio.com/my-profile is set to use yourdomain.com. You should set the domain's Index URL to appifio.com/my-profile and update the link's settings to use yourdomain.com. When someone visits yourdomain.com, they see your profile, and the URL stays as yourdomain.com.
Handling 404 errors: To prevent visitors from seeing an appifio.com error page when they hit a broken link on your domain, create a dedicated 404 page (e.g., appifio.com/my-404) and set it as the 404 URL in your domain settings. This keeps the experience consistent on yourdomain.com/broken-link.
Complete configuration example
Imagine you own yourdomain.com and want to build a fully branded experience:
Step 1: Set the Home page (Index URL)
You have a Biolink active at: appifio.com/my-profile.
Go to the Settings for this link. For a Biolink, select the Settings tab, locate URL Customization, and use the dropdown menu to the left of the URL input to select yourdomain.com.
Next, go to your Domain management page and click Edit for yourdomain.com.
In the Index URL field, enter: appifio.com/my-profile.
Result: When visitors go to yourdomain.com, they see your Biolink content, and the address bar correctly displays yourdomain.com.
Step 2: Set the Error page (404 URL)
Create a new Biolink to act as your error page: appifio.com/error-404.
In its settings, select yourdomain.com from the URL Customization dropdown.
In your Domain management for yourdomain.com, find the 404 URL field and enter: appifio.com/error-404.
Result: If a visitor enters yourdomain.com/wrong-path, they will see your custom error page while remaining on your domain.
7. Applying domains to specific links
This final step connects your brand identity to your resources. Here is exactly where to find these settings in the UI:
For Biolink pages
- Open your Biolink manager.
- Click the Settings tab in the horizontal menu.
- Find the URL Customization card.
- Locate the URL input box. To its immediate left is a dropdown menu.
- Click the dropdown and select
yourdomain.cominstead ofappifio.com. - Click Update at the bottom of the page to save.
For AI Websites / App Builder
- Open your AI Website / App manager.
- Click the Settings button.
- Locate and click Edit URL (identified by the link icon ).
- In the configuration area, use the dropdown on the left of the path input to select
yourdomain.com. - Click Update to apply.
yourdomain.com is selected for appifio.com/my-profile, the browser will professionally display yourdomain.com/my-profile.8. Technical limits and troubleshooting
The system enforces strict technical rules to maintain stability and security.
Plan-based quotas
- Domain limits: Each plan (Free, Gold, Diamond) has a different domain allowance. Check your quota in the Subscription section.
- Blacklisting: The system automatically blocks domains impersonating major brands or violating content policies.
- Uniqueness check: A domain can only be associated with one account at a time.
Common error messages
- Domain already exists: This domain is already in use by another user.
- Invalid security code: A security error occurred due to a session timeout. Please refresh the page.
- Pending approval: Your domain is currently awaiting manual review by an admin.
9. Support and incident resolution
If you've configured DNS/SSL correctly but still cannot access your site, use these support tools:
AI Help Bubble
The chat icon at the bottom helps troubleshoot configuration errors.
Use the chat button in the Header to send direct requests to admins.
Support Tickets
Create a ticket with DNS screenshots for direct technical inspection.
10. Critical warnings on domain deletion
Deleting a custom domain is a highly destructive action. You must understand the following consequences:
Permanent data loss
Extremely important: When you delete a domain, all Biolinks, AI Websites, and Apps associated with that domain will be PERMANENTLY DELETED from the system.
- All content blocks, images, and interface configurations will be lost.
- These pages cannot be recovered after the domain is deleted.
Broken shortlinks
Any shortlinks using this domain will immediately stop working, and visitors will encounter an error.
© 2026 Appifio Creator. If you encounter difficulties, please contact our support team for assistance.
